DELIVERY just £9.95
Create a Space Between the Glass and Mount
Products featured
![]()
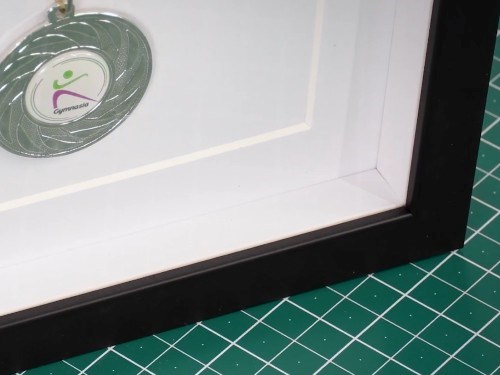
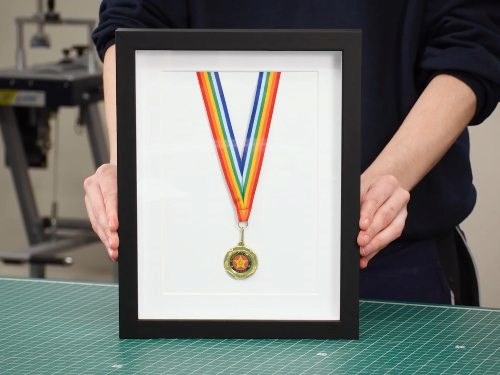
Adding a spacer creates depth between the glass and mount/backing board to accommodate an object or float mounted artwork.
Econospace is a quick and simple solution for depths up to 9.5mm, the adhesive bonds to the glazing.
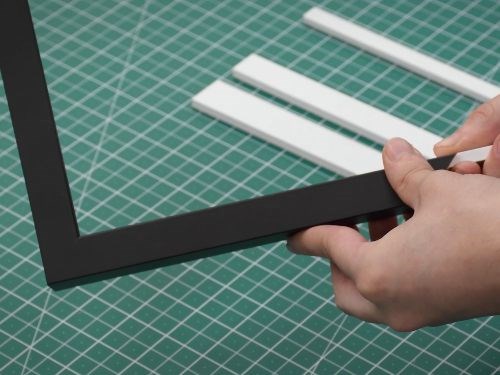
Wooden spacers are available that match many of our popular frame finishes, and also in bare wood, to create space gaps up to 52mm.
View all Glass Spacers
See also: Make a deep bevel mount
How to create a space between glazing and mount
Step one
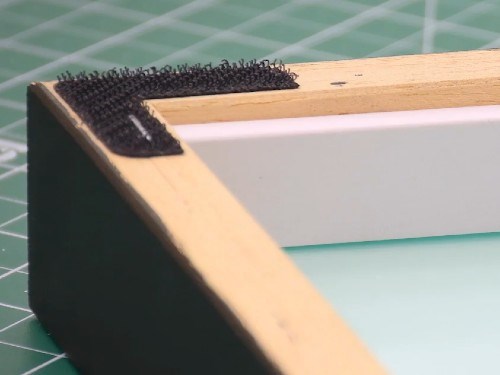
Ensure the spacer is tall enough. The height needs to leave enough room in the frame rebate for the glazing, mount and backing board.
Step two
Ensure the spacer isn't too wide. It should be no wider than the moulding rebate so that it's not visible from the front.
Step three
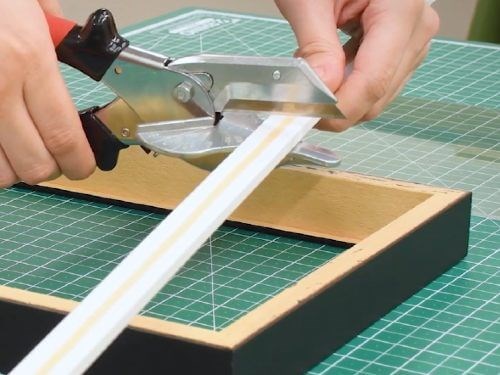
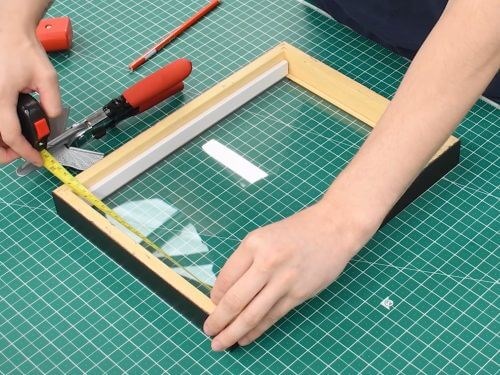
For smaller frames; measure the longest side of the frame. Cut two pieces of spacer to this length using a Fillet Cutter.
Step four
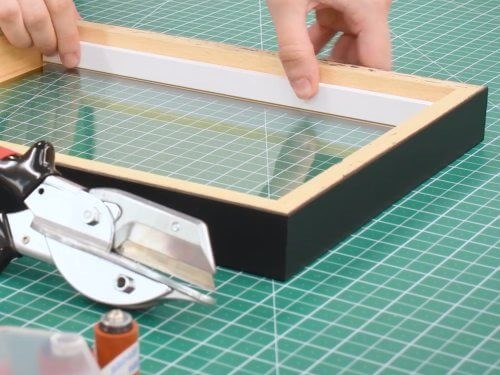
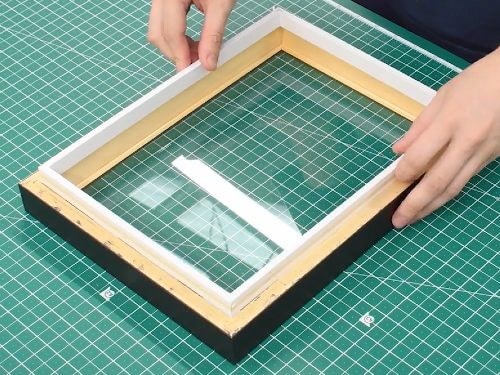
Place the glazing into the frame. Apply double-sided tape to each piece of the spacer and stick to the inside of the frame, touching the glazing.
Step five
Measure the shorter sides of the frame and repeat as before. Trimming two pieces of spacer and fixing them in place.
Step six
Complete the frame as usual.
Step seven
If the frame is larger or heavier then a different approach is needed. The spacer is joined to add rigidity.
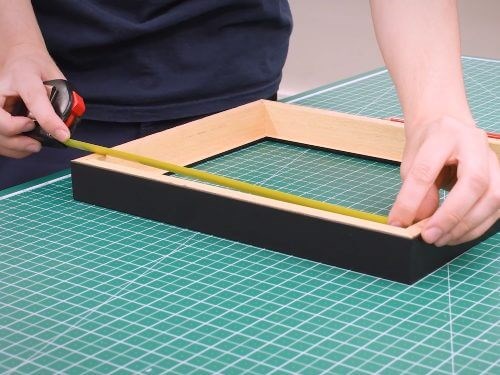
Step eight
Measure the inside of the frame, cut the spacer to match the glass size. This can be done on our Chop Service.
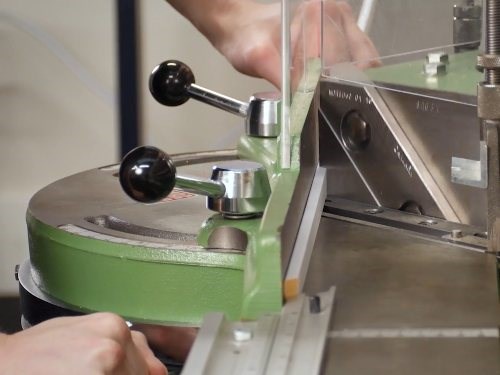
Step nine
Join the spacer frame on an underpinner then drop it into the frame on top of the glazing.
Step ten
Complete the frame as usual.