DELIVERY just £9.95
Cut a Double Mount
Products featured
A double mount is a subtle finishing touch that draws the eye into the picture and sets bespoke framing apart.
A double mount will often pick out a colour from the artwork as the undermount, or use a contrast colour e.g. black.
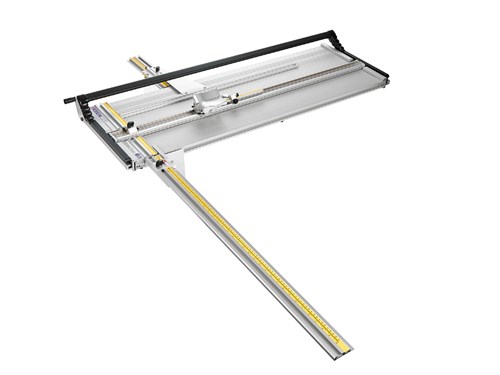
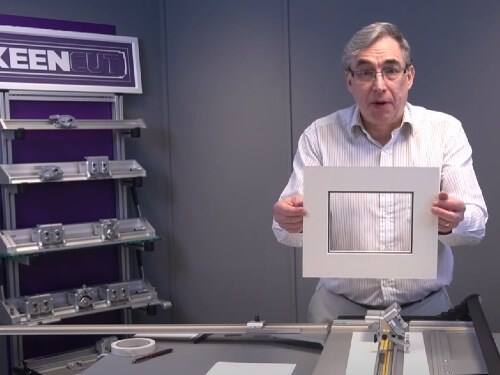
It’s easy to do with a professional mountcutter - in this video from our partners at Keencut, David Wilkie GCF shows you how.
Tip: If you get a pencil mark on a mount, it can be removed with a good quality eraser like our Soft Gum Eraser.
How to cut a double mount
Roy Rowlands shows you how to cut a double window mount on a Keencut Ultimat Futura.
Step one
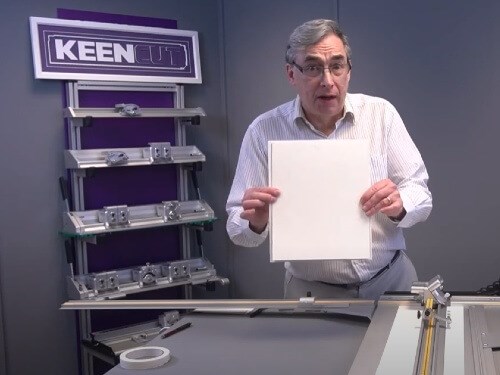
Cut two pieces of mountboard; a top mount and bottom mount. The top mount needs to be squared and cut to size, the undermount just needs to be smaller than the top as it'll sit underneath it.
Step two
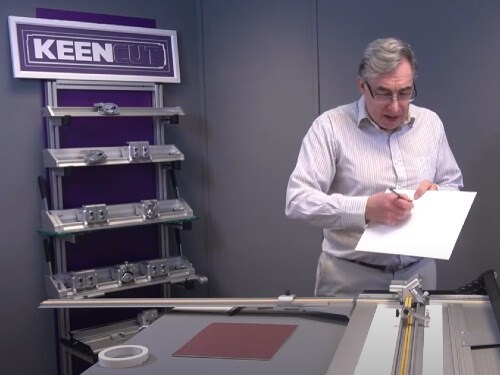
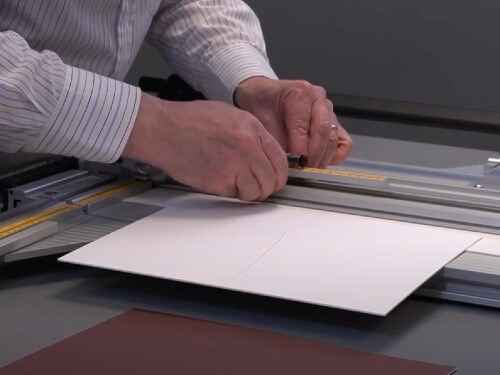
Draw a line on the back of the top mount, this is known as a 'registration mark' and will act as a guide of where to put the centre back in once it's been cut.
Step three
Calculate the measurements of the top mount cut. For example, you want the mount to be 60mm wide with 5mm of the undermount showing. This means you will cut the top mount to 55mm.
Step four
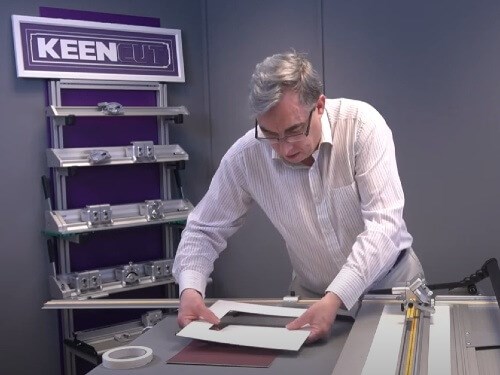
Place the centre piece back into the window of the mount you have just cut. Using the registration mark to ensure you have it in the correct position.
Step five
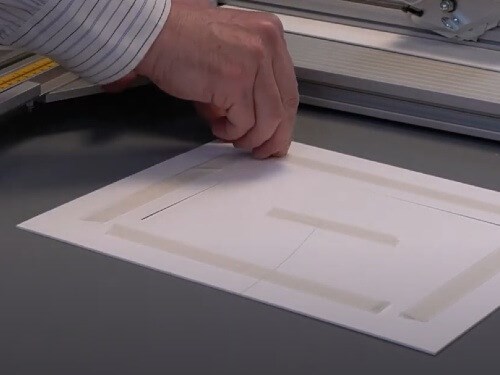
Apply double sided tape to the four lengths of the back of the top mount and a little in the centre of the cut out. Place the bottom mount face down onto the tape, securing it in place centrally.
Step six
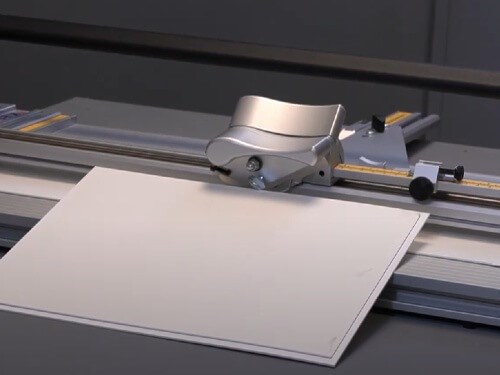
Change all the stops of the mountcutter to the required width, in this case 60mm. Cut to size using with the finger gage positioned against the top mount.
Step seven
If done correctly the window of both the top and bottom mount will fall out once lifted, with the double mount on display.


