DELIVERY just £9.95
Frame Sports Shirts
Products featured

Shirts, flags, caps and other mementos of sporting endeavor look great framed. The challenge is to mount them without damaging them.
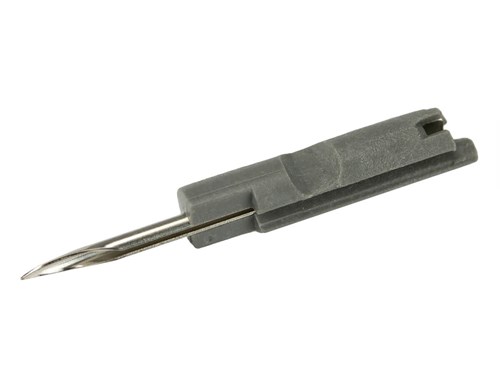
LION’s unique Sport Shirt Framing System makes mounting a sports shirt ready to frame quick and easy.
Tiny plastic T-tags can be inserted through the seams of clothing and other inconspicuous areas to anchor into a foam centered support board. Take care with fine or close weave fabrics.
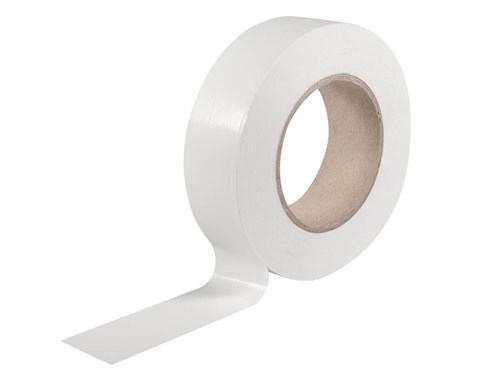
For low value, replaceable items you can use high tack Tapestry Tape to hold folded sleeves in place at the back.
See also:
How to frame a sports shirt; compact method
Step one
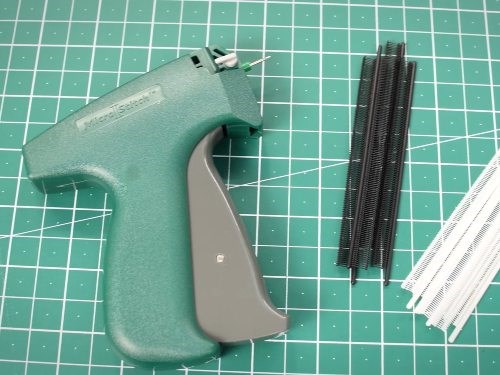
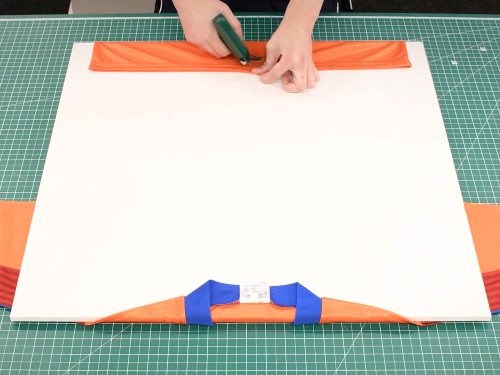
A T-tag Gun will be used to fix the shirt in place. This method is compact, hiding the collar, sleeves and hem of the shirt.
Step two
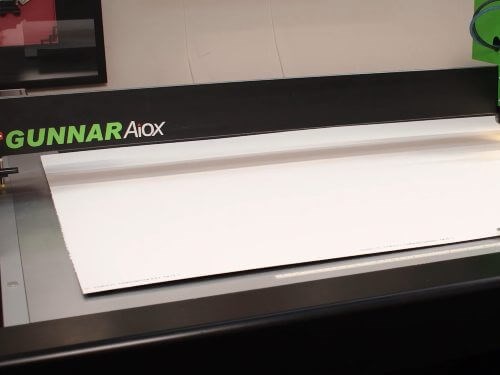
Measure the shirt and cut a window mount. Using a pre-made template from the Gunnar CMC is the best approach.
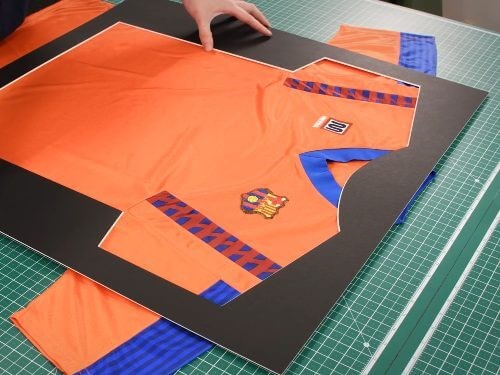
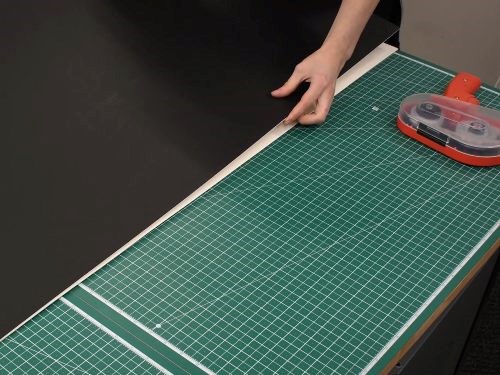
Step three
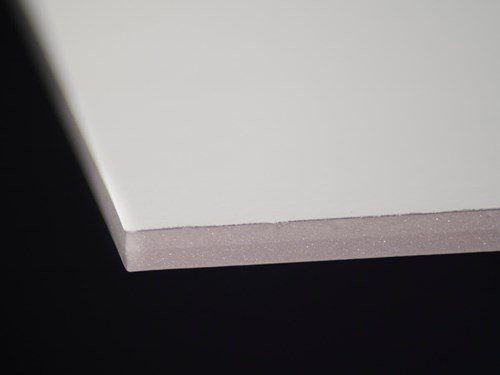
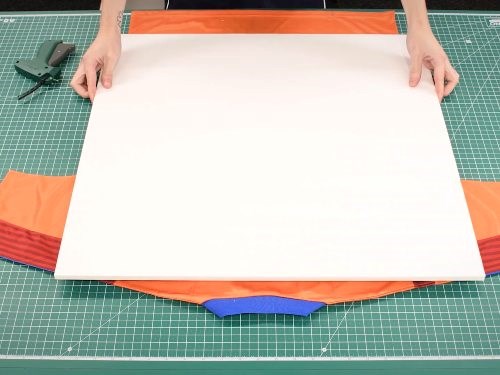
Place the window mount on top of the shirt. Measure and cut foamboard to allow wrapping of around 50mm of each side to the back.
Step four
Lay the shirt face down and centre the foamboard on top.
Step five
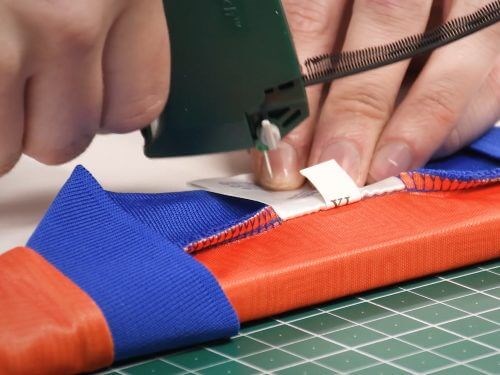
Fold the collar down and fit in the centre. Fold the hem up at the bottom and fit in place with the T-tag Gun.
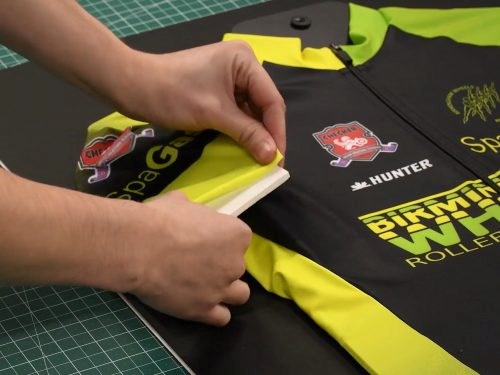
Step six
Fold the sleeves and sides in, fixing in place with light tension.
Step seven
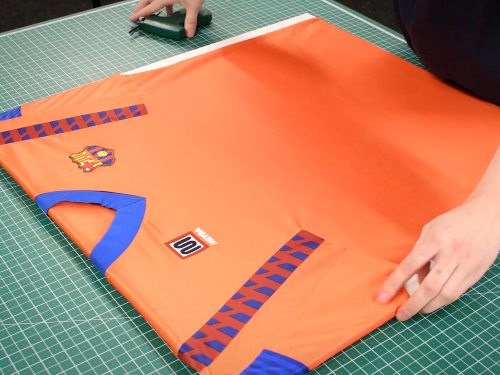
Once happy with positioning work your way around the shirt, checking for unevenness and wrinkles.
Step eight
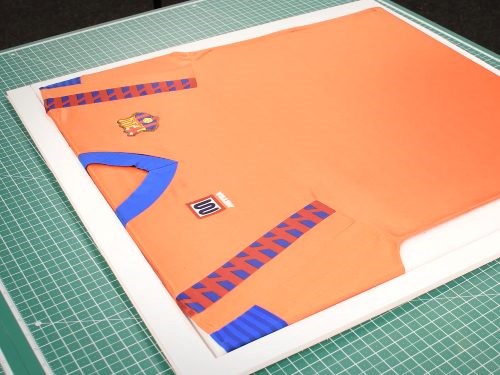
Lay the shirt onto an undermount and fit strips of 10mm wide foamboard to fix it in place.
Step nine
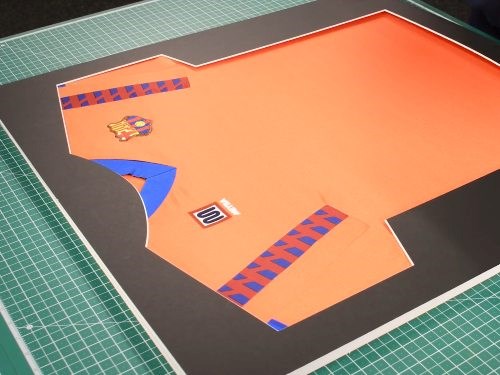
Fit the window mount on top and position into a deep rebate frame.
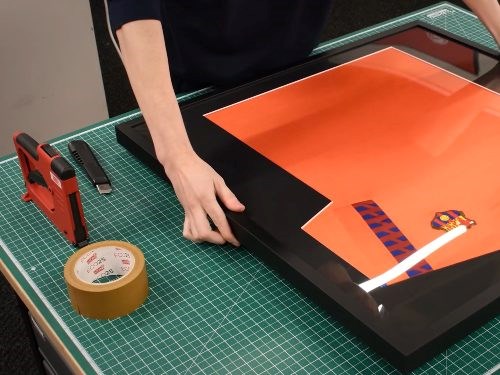
Step ten
Finish the frame usual.
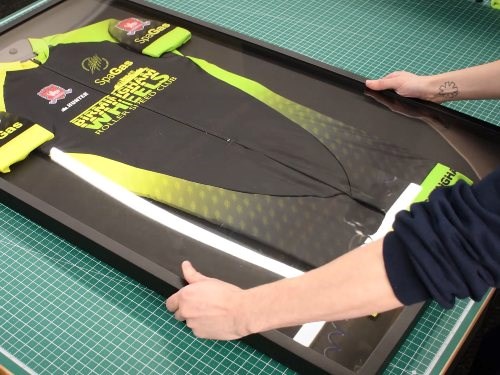
How to frame a sports shirt; float method
Step one
The LION Sports Shirt Framing System is for when you don't want to fit anything to the shirt or want to see the entire shirt.
Step two
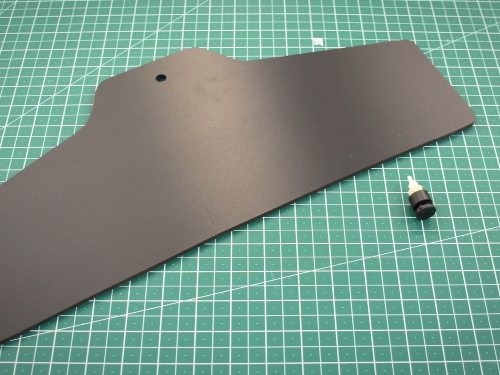
Measure the shirt and create a template from the foamboard that will fill the body of the shirt.
Step three
Cut the shirt template out of the foam board and fit it to the shirt support with tape.

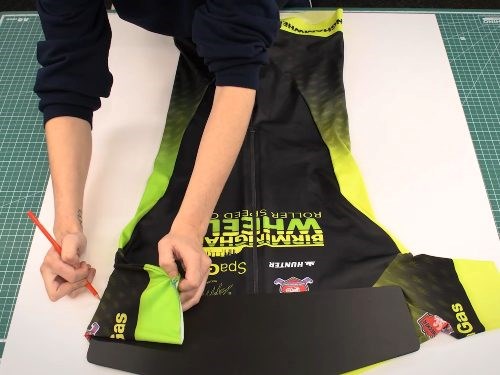
Step four
Slide the support into the shirt.
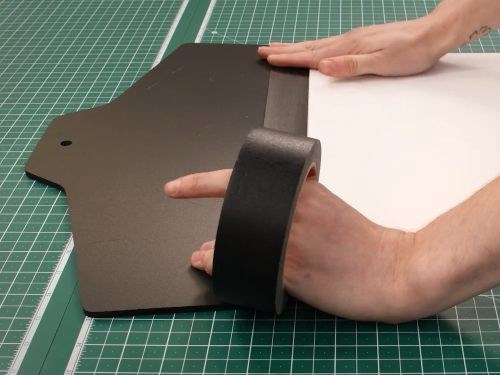
Step five
Bond a pierce of mountboard in an appropriate colour to a piece of foamboard, sized to fit the finished frame.

Step six
Work out where to position the shirt and mark out the location of the fixing post.
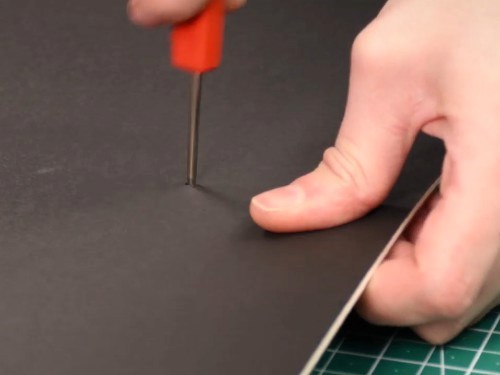
Step seven
Pierce a hole with a bradawl then screw the fixing post in place.
Step eight
Cut the excess thread off the screw then attach the shirt support to the fixing post.
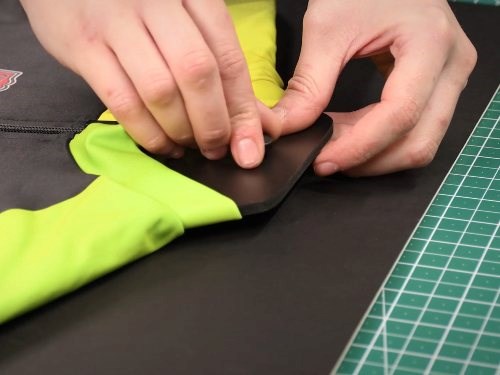
Step nine
For the sleeves, use foamboard to give them shape then fix in place with a T-tag gun.
Step ten
Now it's ready to go into a deep rebate frame with spacer. Finish as usual.