DELIVERY just £9.95
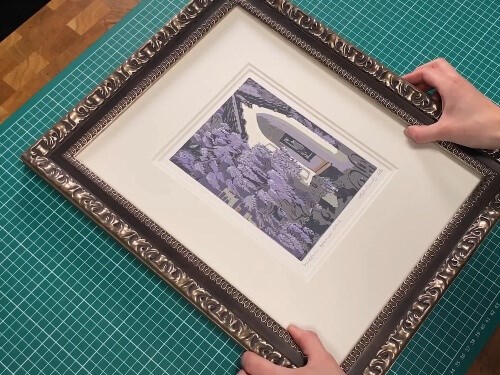
Hinge Artwork Into a Mount
Products featured


The term for fixing artwork into a mount using minimal adhesive is ‘hinging’. The artwork is T-Hinged to the undermount at the top only, which prevents ‘cockling’ by allowing the paper to expand with variations in moisture levels. Using a water-activated gummed tape makes the process reversible, but conservation grade self-adhesive hinging tapes are more convenient and suitable in many applications.
Our video takes you through the steps.
How to rehinge artwork that has been previously hinged using a gummed tape
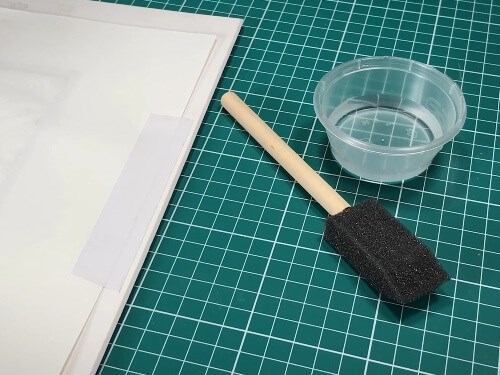
Step one
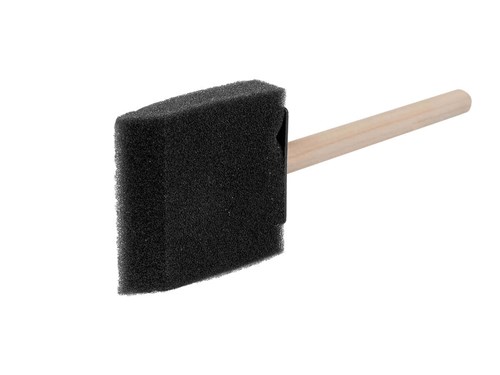
Remove the old gummed hinging tape from the window mount using a sponge or foam brush and some water. The water soluble adhesive will loosen once wet. Apply a small amount of water and wait for a minute.
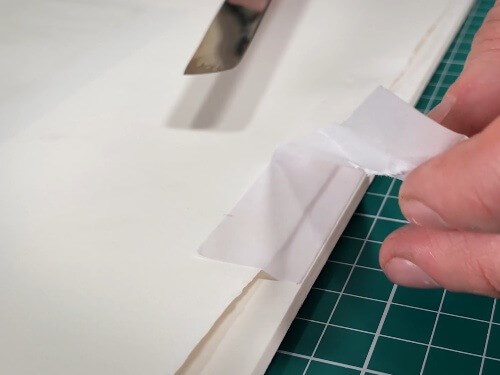
Step two
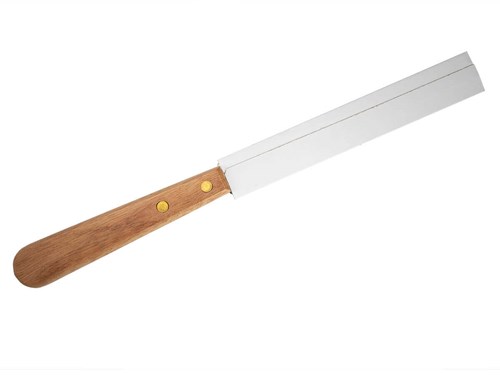
60 seconds later use a sharp flat but rounded tool to start peeling off the tape, such as a Gilders Knife. Apply more water sparingly if needed. Do not use a sharp blade.
Step three
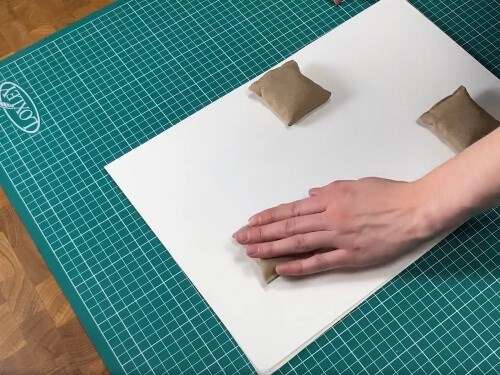
After removing the tape take the artwork out of the mount and place it between two sheets of blotting paper. Use paper weights to hold it down. This will help remove any moisture and flatten any cockling. Leave for 24 hours.
Step four
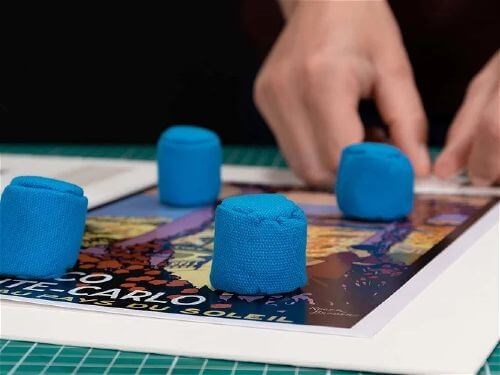
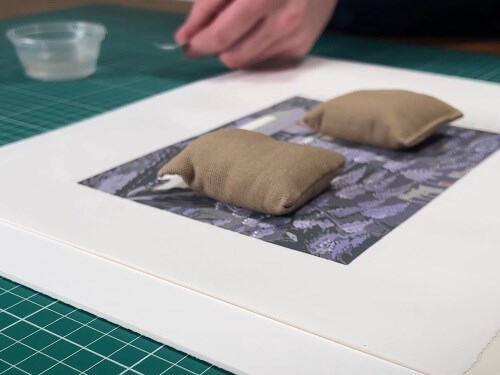
24 hours later the artwork can now be positioned inside the new window mount. Once positioned, apply paper weights to stop the artwork from moving.
Step five
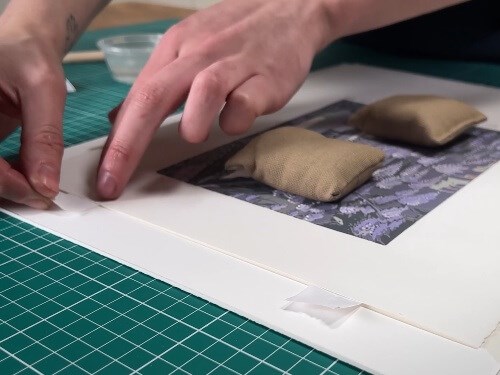
Tear off two small pieces of gummed tape, moisten 5-8mm of an edge and carefully slide, gummed side up, under the top edge of either side of the artwork. Press down gently.
Step six
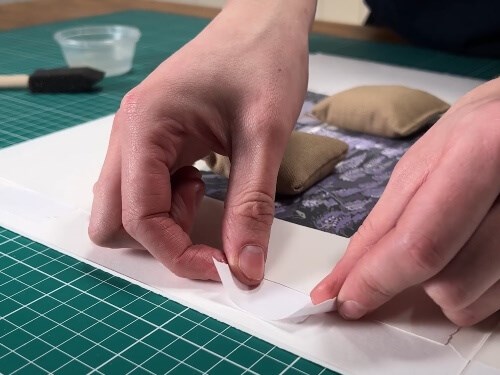
Fully moisten two second pieces of gummed tape and apply them, in the shape of a T, over the positioned tape to attach the artwork to the undermount.
Step seven
T-hinges prevent cockling by allowing the artwork to expand and contract. Now the new hinges are in place, all that's left to do is build the frame.