DELIVERY just £9.95
Make a Deep Bevel Mount
Products featured
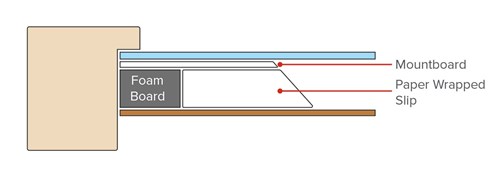
Adding a deep bevel to a mount adds a luxurious gallery style. Cut and join our paper wrap slips and then use a double sided tape to bond the slip frame to the mount. Add strips of foam centre board to fill the back out.
Tip: Our Paper Wrapped Slips & Spacers match our most popular LION Mountboards - they’re covered with the same papers so it’s easy to get a perfect match.
How to make a deep bevel mount for a picture frame
How to use a slip to make a deep bevel mount. This technique is an easy way to add extra perceived value to a frame. These slips are from our Paper Wrapped Slips & Spacers range which are covered in the same face paper from our LION Mountboard range.
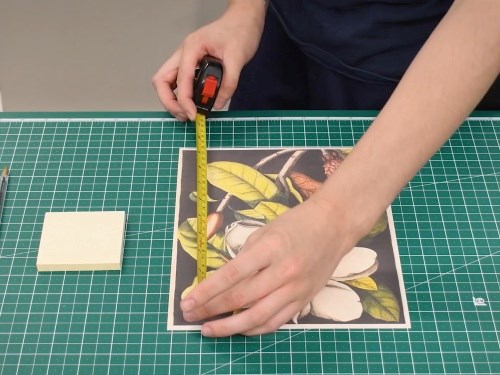
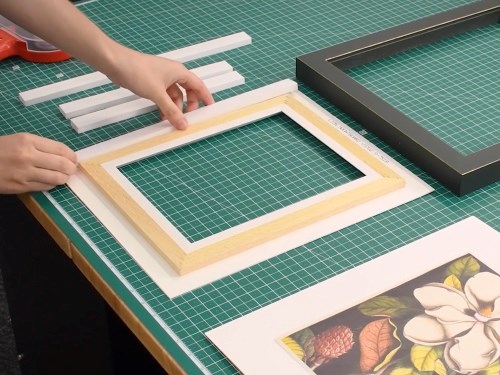
Step one
Calculate the inside dimension of the slip frame, as you would for a normal window mount.

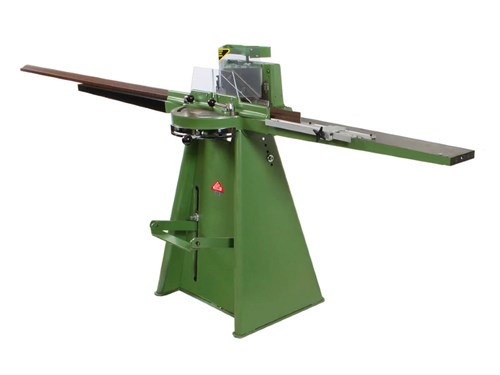
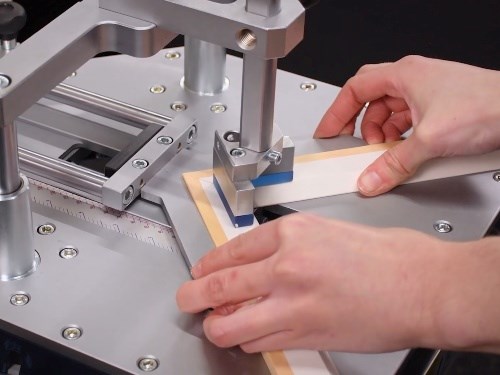
Step two
Prepare the cut the slip to size on your Morso or order via our Chop Service.
Step three
Glue and join the slip frame as you would any other moulding.
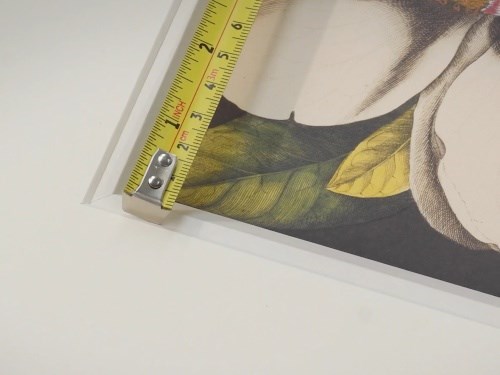
Step four
Measure the aperture of the slip frame, allowing for a gap of up to 10mm between the slip bevel and window mount. Cut the mount.
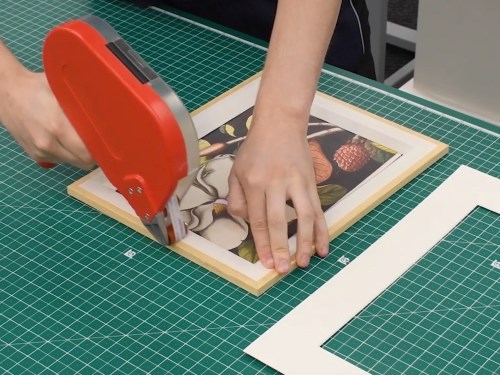
Step five
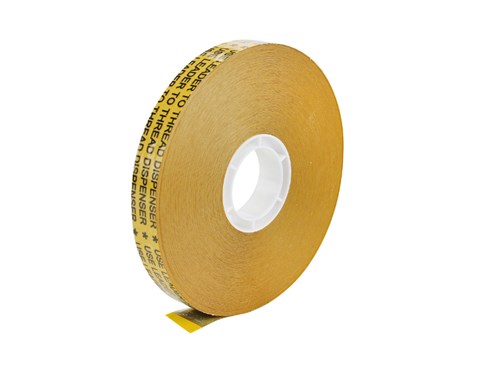
Apply double sided tape to the face of the slip frame, line up the window mount and bond it in place.
Step six
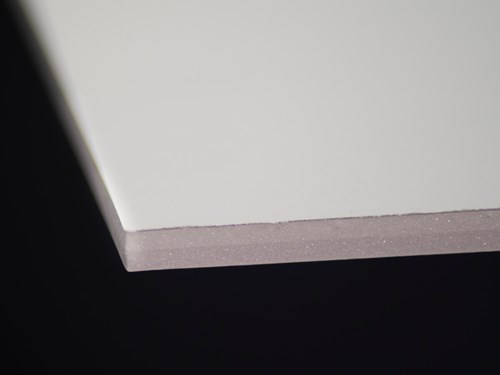
Cut strips of foam board to pack out the back of the mount and fix in place with double sided tape to the back of the window mount.
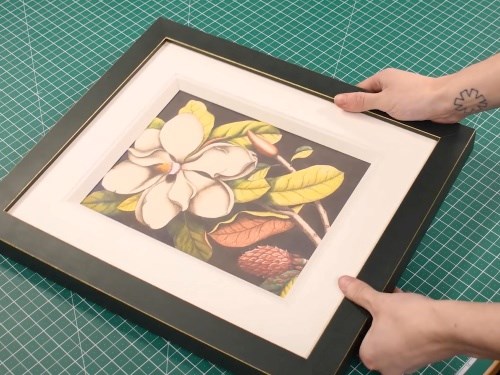
Step seven
Finally, hinge or mount the artwork as normal and assemble the frame.